
- Board orientation: “Light on Right”: the bottom-right square must be light-colored.
- Pawns: Fill your entire second row.
- Back row: Rooks in the corners, then Knights, then Bishops.
- Royalty: “Queen on Color”: she always starts on the square matching her color.
- King: Takes the final remaining square next to the Queen.
Starting from scratch
If you’ve never held a Chess piece before, start here. We’ll look at the board from White’s perspective, but the placement is identical for Black on the other side.
Meet the pieces
A standard Chess set has 32 pieces: 16 for the White (Light) side and 16 for the Black (Dark) side. Here’s how to tell them apart:
- The King: The tallest piece, usually topped with a cross. He is the most important piece but has limited movement.
- The Queen: The second tallest, featuring a coronet or pointed crown. She is your most powerful piece.
- The Bishop: Medium height with a slit in the top (representing a liturgical headdress or mitre).
- The Knight: Easily identified as a horse’s head.
- The Rook: Shaped like a castle tower or turret.
- The Pawn: The shortest and most numerous pieces. You have 8 of these to act as your front-line infantry.
Step 1: Orient the board
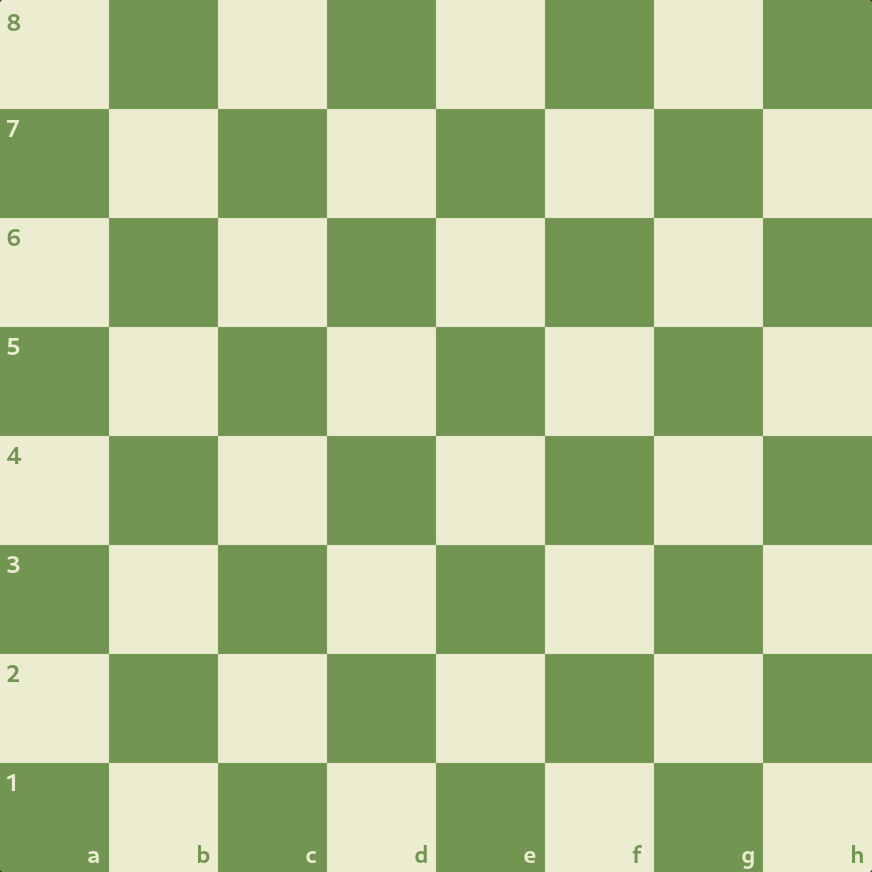
The board must be positioned so both players have a light-colored square in their bottom-right corner. Remember it with the rhyme: “Light on Right.” If your board has coordinates printed on the side, White sets up on the side numbered 1 and 2, Black on 7 and 8.
Step 2: Place the Pawns
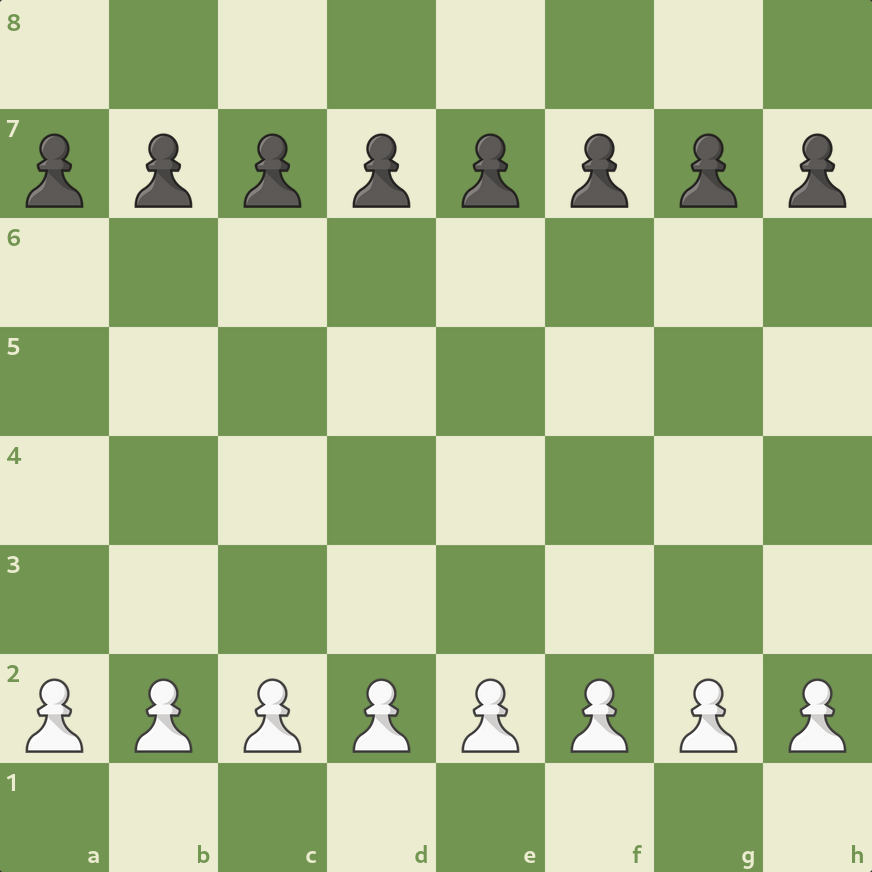
The pawns are your front line of defense. Take all eight of your pawns and place them in a straight horizontal line across the second row (the second “rank”) from your side. This creates a wall that protects the pieces behind it.
Step 3: Place the Rooks, Knights, and Bishops
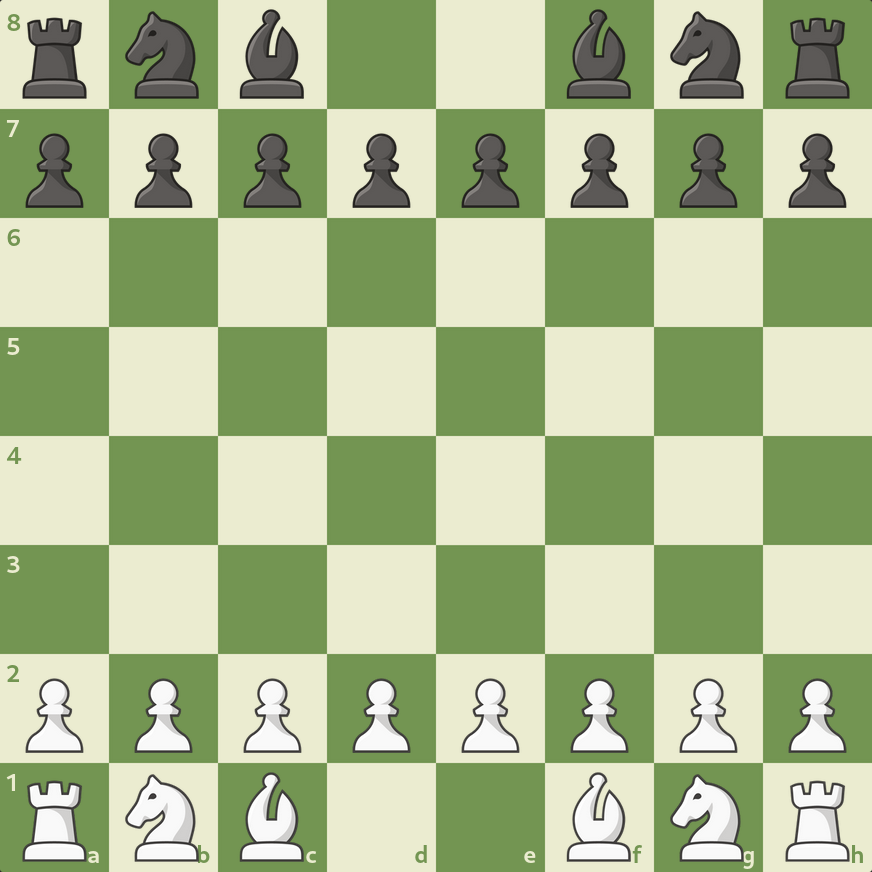
Now we fill the back row, starting from the outside and working toward the center:
- Rooks: Place one in each of the two far corners.
- Knights: Place these immediately next to the Rooks.
- Bishops: Place these next to the Knights.
You should now have two empty squares left in the center of your back row.
Step 4: Place the Queen and King
The final step is where most beginners make a mistake. To get it right, remember: “Queen on Color.”
- The Queen: If you are playing as White, place your Queen on the light-colored center square. If you are playing as Black, place her on the dark-colored center square. She always prefers to stand on a square that matches her own color.
- The King: Place the King on the final remaining square next to the Queen.
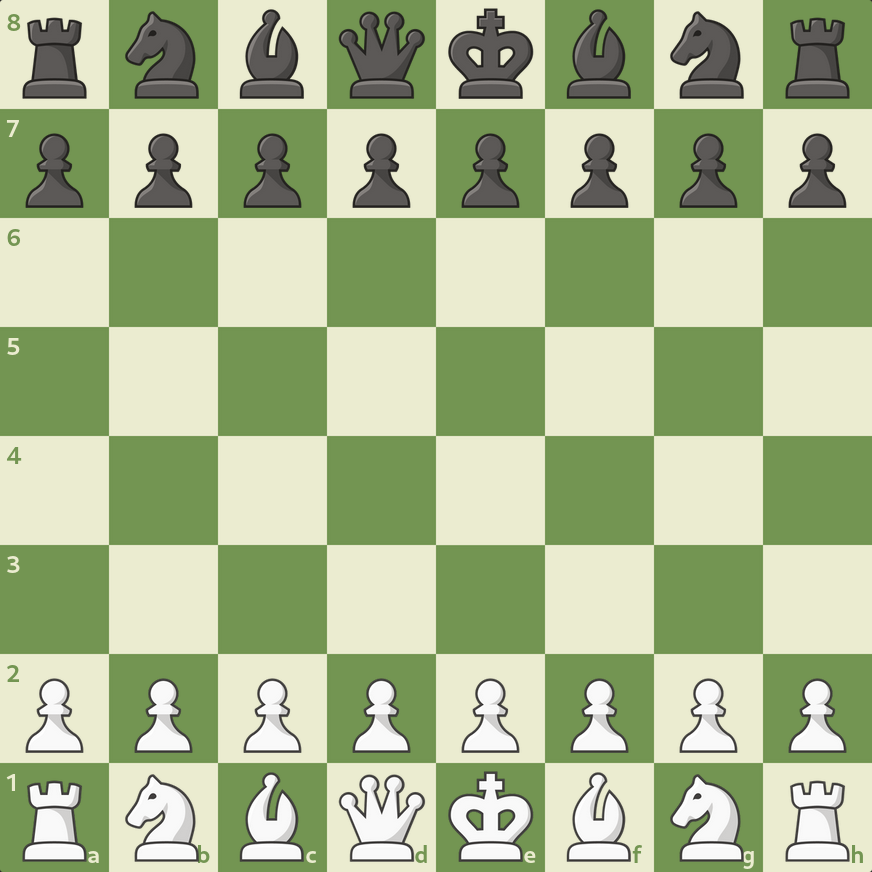
That’s it. Done! Here’s another look at the completed board:
White always goes first
Once both sides have followed these steps, the board is a perfect mirror image. The White and Black Queens face each other directly, as do the Kings. White moves first, always. Good luck!
Ready to play? Browse chess apps and tools:
Browse chess tools →